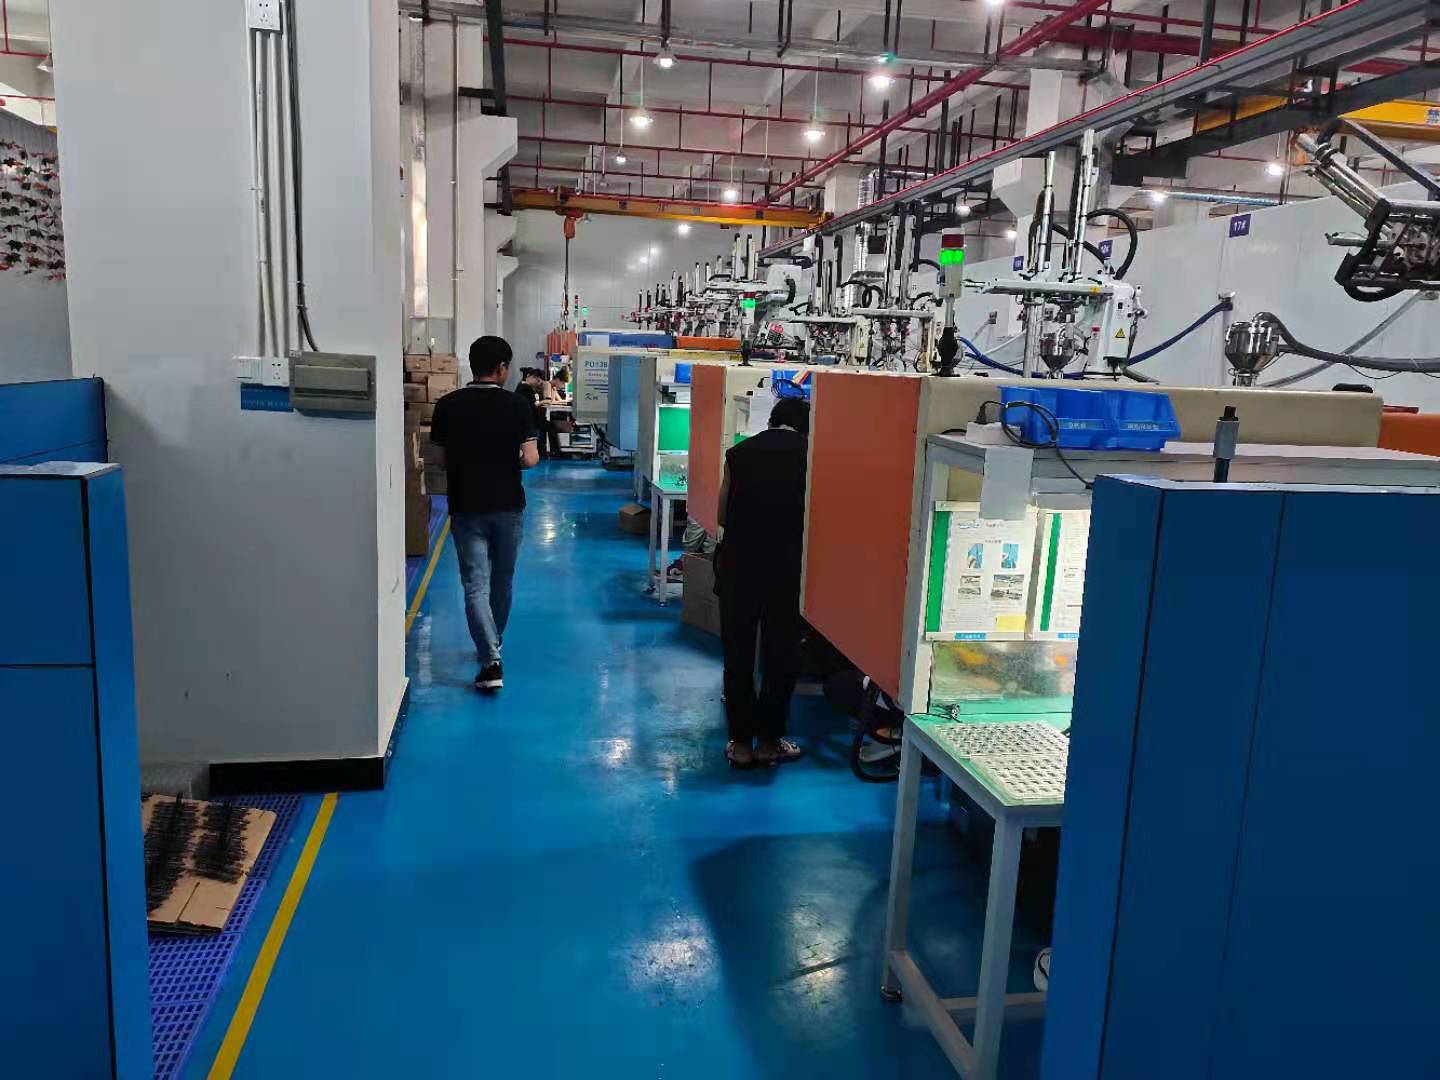
The mold making process is as follows:
Review drawing a preparation a processing a mold frame processing a mold core processing an electrode processing a mold part processing a test an assembly a flying mold a test mold a production
Contact: Mr. Tang. 13825769150
A: die frame processing :1 dozen number,2A/B plate processing,3 panel processing,4 quality needle fixed plate processing, 5 bottom plate processing
B: die core :1 flash,2 rough grinding,3 milling machine processing,4 bench machining, 5CNC roughing,6 heat treatment, 7 fine storage, 8CNC finishing, 9 EDM machining, 10 province mold
C: mold parts processing :1 slider processing, 2 compression block processing, 3 split dimension gate sleeve processing,4 insert processing mold frame processing details 1, the number should be unified, the mold core should also be numbered, should be consistent with the mold frame number and direction, assembly alignment can not easily make mistakes.
2, A/B plate processing (that is, dynamic fixed mold frame processing), a:A/B plate processing should ensure that the parallelism and perpendicularity of the mold frame is 0.02mm, b: milling machine processing: screw holes, water holes, top pinholes, machine nozzle holes, chamfer c; Fitter
Processing: tapping, trimming rough edges.
3, panel processing: iron bed machining boring machine nozzle hole or processing material nozzle hole
4, thimble fixed plate processing: milling machine processing: thimble plate and B plate with the back pin link, B plate face up, from the top to the bottom of the drilling needle hole, the thimble countersunk head needs to turn the thimble plate on the bottom, correct, first with the drill head,
and then with the milling cutter finishing in place, chamfering.
5, bottom plate processing: milling machine processing; Marking, correction, boring, chamfering,
(Note: some molds need to strengthen the top of the strong drawing to strengthen the top structure, such as in the thimble plate to account for wire holes) die core processing details
1) work flying six sides: in the milling machine processing, to ensure perpendicularity and parallelism, leaving a grinding allowance of 1.2mm
2) rough grinding: large water grinding processing, grinding the large surface first, Use the company to clamp the grinding surface to ensure that the perpendicularity and parallelism are
0.05mm, leaving a margin of 0.6-0.8mm
3) Milling machine processing: first correct the washing machine head, ensure that it is within 0.02mm, correct the pressing workpiece, first process the screw hole, the top pin hole, the thread hole, the insert countersunk head, the machine nozzle or the material nozzle hole, The diverter taper hole is chamfered, then the far water hole is done, and the R Angle is milling.
4) Bench processing: tapping, coding
5)CNC roughing
6) External heat treatment HRC48-52
7) Fine; Large water grinding to negative 0.04mm than the mold frame, to ensure that the parallelism and perpendicularity within 0.02mm
8)CNC finishing
9) EDM
10) save mold, ensure the finish, control the cavity size.
11) Processing gate, exhaust, zinc will generally open the gate 0.3-0.5mm, exhaust open 0.06-0.1mm. Aluminum alloy gate open 0.5-1.2mm exhaust open 0.1-0.2, plastic exhaust open 0.01-0.02, as wide as possible, a little thin.
Contact 13825769150 Mr. Tang
